Bring Your JHL Metal Roof Back to Life: 3 Simple Steps to Tackle Algae, Mold & Moss!
Release time:
Jun 26,2025

Dear JHL Homeowners,
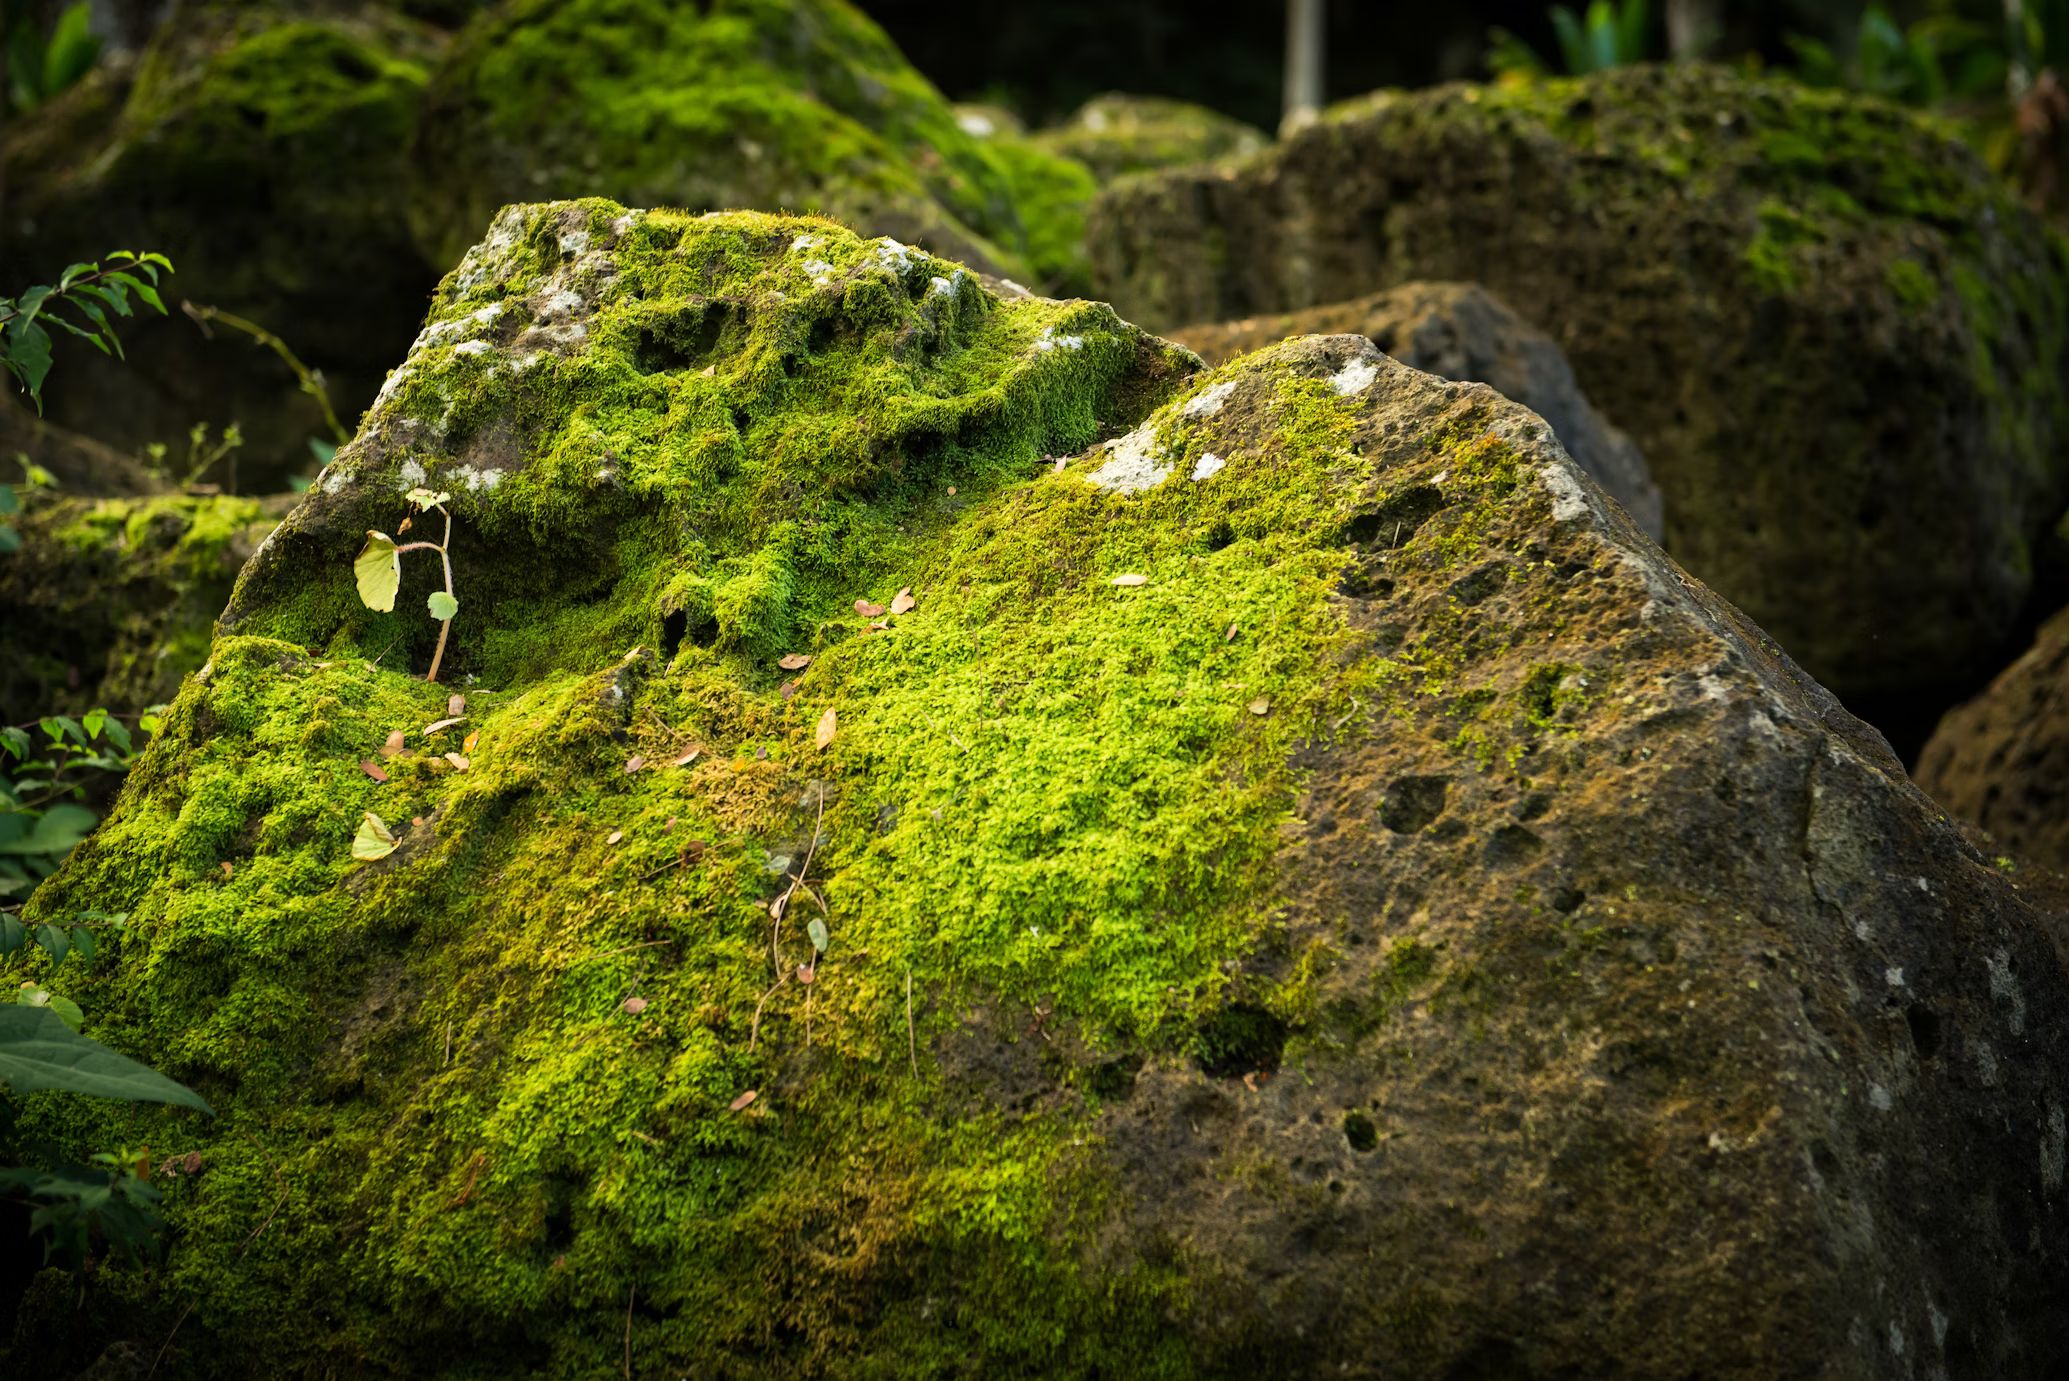
Has your once vibrant JHL metal roof started showing unwelcome guests? Maybe patches of green algae, stubborn grey lichen, or annoying black mold? Don't let these little nuisances affect your home's curb appeal or your roof's well-being! At JHL, specialists in high-quality metal roofing, we understand the frustration these organic stains cause and how much you value protecting your investment. The good news? Removing them isn't as hard as you might think – the key is using the right approach! Today, we're sharing effective cleaning tips that will absolutely safeguard your JHL roof's protective coating.
The JHL Golden Rule: Gentle is Best, Protect the Coating!
Before you start, remember this: Your JHL metal roof's ability to withstand the elements and look great for years relies heavily on its high-performance coating (whether it's the aluminum-zinc alloy base). The number one rule for any cleaning method is never to compromise this vital protective layer! That means absolutely no harsh acids or alkalis, wire brushes, or pressure washers – these "aggressive fixes" or "brute force" methods are off the table. Gentle yet effective cleaning is the only way to ensure long-term roof health.
Step 1: Choose Your "Cleaning Partner" Wisely – Effective & Coating-Safe
Different stains need different "cleaning partners":
Mild Soapy Water / Dedicated Cleaner Leads the Way: For light algae or dust, this is the safest first choice! Mix a mild, neutral pH dish soap or a JHL-recommended dedicated metal roof cleaner with warm water. A good ratio is about 1/4 cup of cleaner per gallon (approx. 4 liters) of water – stir until sudsy. JHL's dedicated cleaner is specially formulated to be gentler, more targeted, low-sudsing, and easy to rinse, making it the hassle-free option.
White Vinegar Solution: Economical & Eco-Friendly: If green algae is lingering or you spot early mold, try this kitchen staple – white vinegar! Mix equal parts white vinegar and warm water. Its natural mild acidity works well against these biological films.
Crucial! Steer Clear of These "Danger Zones":
- Bleach (like household chlorine bleach) is ABSOLUTELY FORBIDDEN! While potent at killing organics, it's the enemy of your JHL roof coating and sealants! It accelerates metal corrosion (especially damaging the alloy layer), causing rust and fading, and runoff can "burn" your beloved garden plants. Chlorinated pressure washing? Also a big NO!
- Always "Spot Test" First: Whichever cleaning solution you use, spray a small amount on an inconspicuous area of the roof first. Wait 10-15 minutes, then check for any discoloration or adverse reaction on the coating. Only proceed if it's safe.
Step 2: Use the Right "Helpers" – Safe, Easy & Efficient
The right tools make the job easier, safer, and protect your roof:
Soft-Bristle Brush / Long-Handle Brush is Your Main Tool: This is for scrubbing! Use only soft nylon or polyester bristles. Stiff brushes or wire brushes? Put them away! They can easily scratch your beautiful JHL coating. A brush with a long handle is ideal, letting you work safely from the ground or a stable ladder.
Garden Hose for Gentle Rinsing: Use an ordinary garden hose set to a gentle spray for pre-wetting and rinsing away dirt and cleaner residue. NEVER, EVER use a pressure washer! The intense jet can force water under the precisely engineered seams of your JHL roof panels, compromising the seal and potentially leading to leaks over time. Worse, it can directly damage or strip the protective coating and even dent or distort the metal panels.
Spray Bottle / Pump Sprayer for Even Coverage: Apply your cleaning solution evenly using a garden spray bottle or pump sprayer. It's efficient and gets the job done.
Safety Gear is Non-Negotiable:
- Traction-Footwear: Wet roofs are slippery – safety first!
- Sturdy Gloves: Protect your hands from cleaner solutions.
- Safety Glasses: Prevent accidental splashes in your eyes
- Stable Ladder + Spotter: If you must go on the roof, the ladder MUST be secure! We HIGHLY recommend using a safety harness and having a helper on the ground. Safety is JHL's top priority for you! If the pitch feels steep, the roof is high, or you're unsure, there's a safer option discussed below.
Step 3: Master the "Rhythm & Technique" – Refresh with Ease
With the right partners (cleaner and tools), technique and process are key:
Pick the Right "Weather Window":
- Overcast or Early/Late Hours are Best: Avoid working in direct, hot sun. Intense sun dries cleaners too fast, leaving streaks or residue, and makes the roof surface extremely hot! Choose a cool, cloudy day, or work during the cooler morning or evening hours.
The Standard "Procedure":
- Pre-Wet: Start by gently spraying the entire area you'll clean with water. This softens grime for easier removal
- Apply the Cleaner: Spray or brush the cleaning solution evenly onto the roof (work in manageable sections, don't overdo it). Then, let it dwell on the stain for about 5-15 minutes (check cleaner instructions/stain severity) to break down the gunk. Crucial: Don't let the cleaner dry completely on the roof!
- Gently Agitate: Use your soft-bristle brush to gently scrub along the direction of the roof panels (usually vertically). Think of it like washing your car. Apply slightly more pressure for stubborn spots, but gentleness is key – avoid harsh back-and-forth scrubbing that could harm the coating.
- Rinse Thoroughly: As soon as the dwell time is up, immediately rinse the section thoroughly with copious amounts of low-pressure water! Rinse until all cleaner residue is gone. Rinse from the top down, letting the water carry the dirt away.
- Work Top-Down: Clean from the highest point (ridge) down to the eaves. This prevents dirty rinse water from flowing over areas you've already cleaned.
Tackling "Tough Cookies": Didn't get all the thick lichen or mold in one go? Don't rush or resort to harsh methods. Be patient. Let the roof dry completely, then repeat the process. Gentle, repeated applications are far better than one aggressive attempt that damages the roof.
JHL's Strong Reminder: Safety Comes First!
Roof cleaning is working at heights! This isn't scare tactics; fall risks are real. If you:
- Are uncomfortable with heights;
- Find your roof pitch too steep;
- Are intimidated by the roof height;
- Then JHL HIGHLY recommends hiring professionals!
Choose JHL-Certified Professional Cleaning for Peace of Mind: Our teams are fully equipped (safety harnesses, non-slip gear), highly experienced, and deeply understand the specifics of JHL roofing systems. They use JHL-approved, safe, and effective cleaners and methods, removing stains efficiently while treating your roof coating with the utmost care. You can relax and supervise from the ground, or simply hand us the keys and return to a refreshed home! Safety is priceless. Leave this specialized task to the experts – your peace of mind and your family's safety are paramount.
Keep Your JHL Roof Looking Its Best for Years
A little regular attention prevents big headaches. We recommend a quick visual check of your roof each spring and fall. Clear away any accumulated leaves or debris that can trap moisture and encourage algae or mold. Following the gentle, effective cleaning methods above periodically (typically every 2-3 years, depending on your environment) will help your JHL metal roof maintain its stunning appearance and robust protection for decades to come, shielding your home reliably.
Key words:
Blog
Jul 30,2025
Share

